How to use the Customizer V2?
Now that you must be ready to get your New Customizer, we made a super helpful guide you can always check when you need to know something.
Let’s get started!
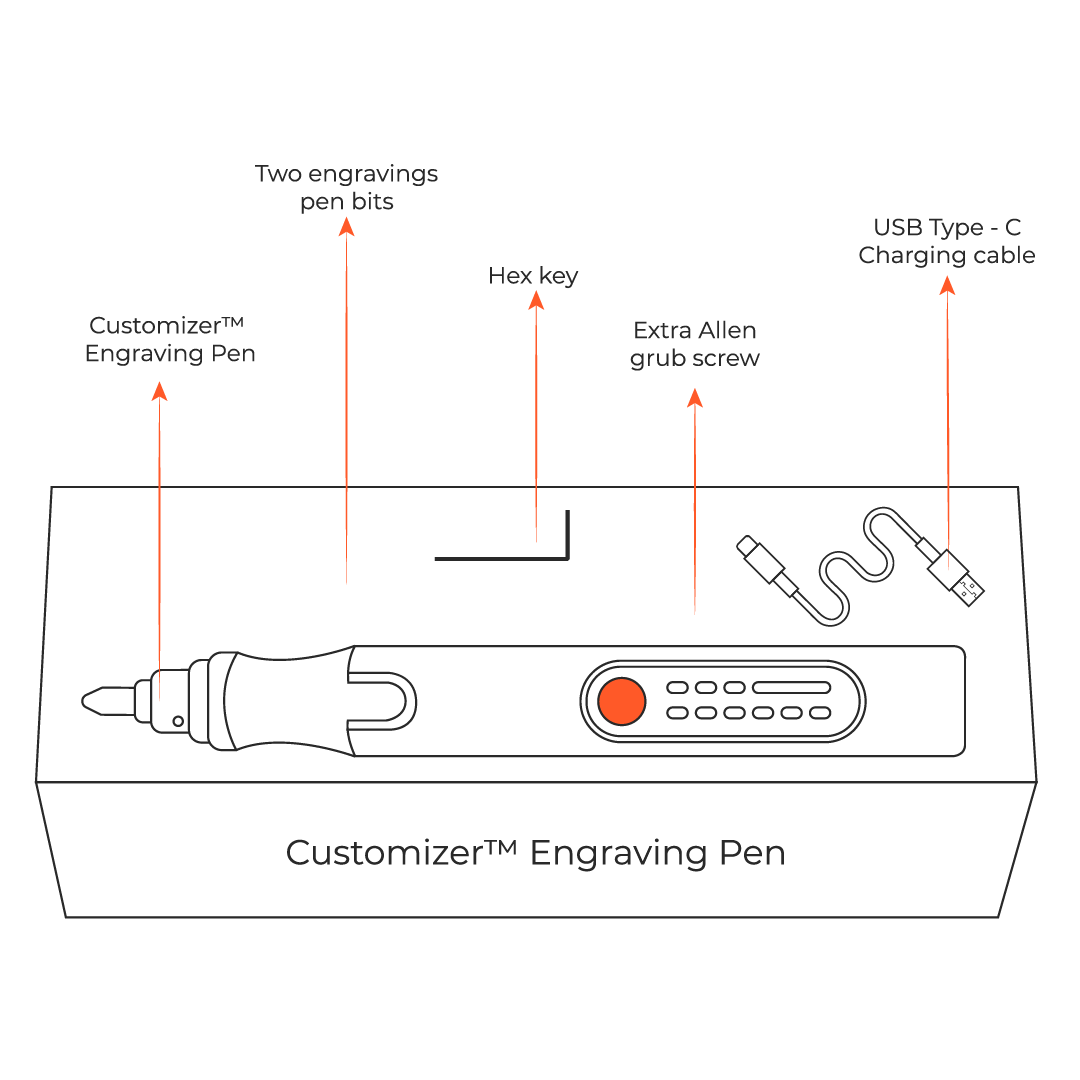
First, you need to know What’s in the box?
The Customizer comes with:
- USB - C charging cable
- Hex key
- Extra Allen grub screw and
- 30 extra bits

Now that there’s nothing left outside -more like inside
It’s time to choose the bit!
We made a graphic so you can choose wisely the perfect bit for the material or surface to engrave.
Let’s dig a little deeper.
The 30-Piece Set Is Divided Into 3 Big Groups
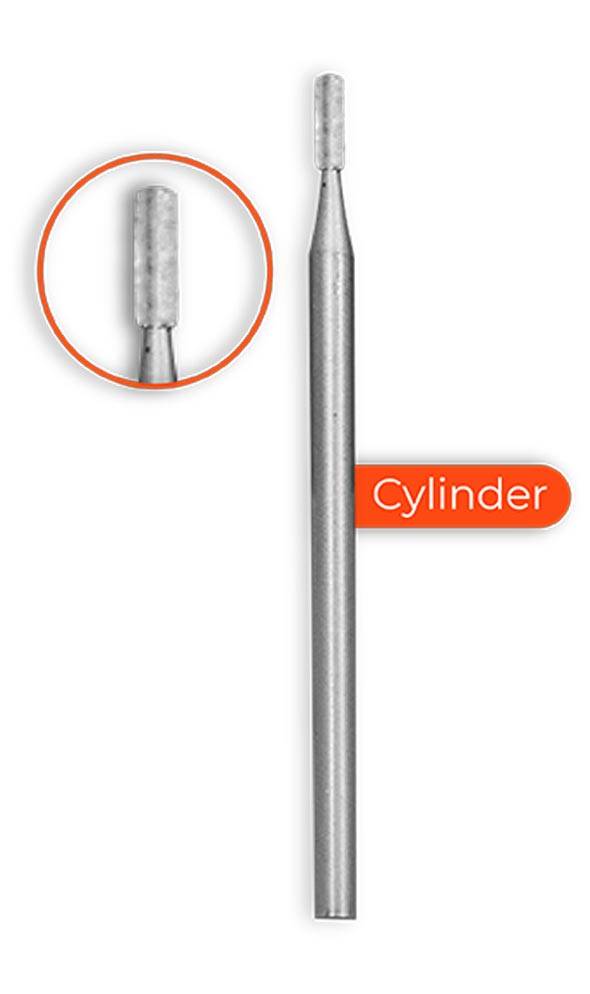 |
Cylinder:Use the corner of the bit to notch out v-shaped cuts, or show off your freehand skills and use it to soften or round over sharp edges.
|
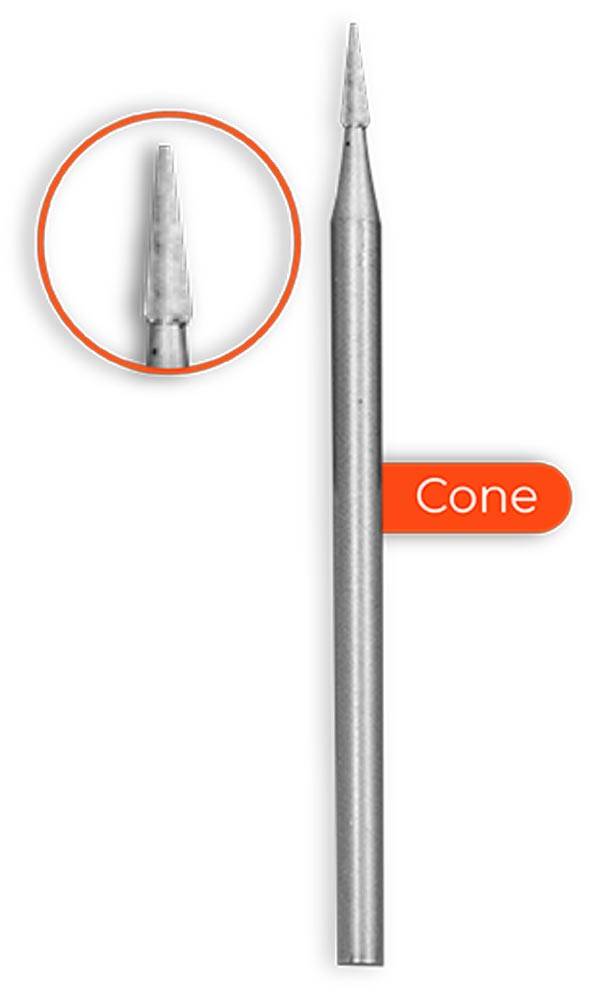
Cone:You will get a variety of cone bits — needle, flame, taper. Their use is similar to the Cylinder.
These bits are perfect for producing angled, concave cuts and notching v’s with a softly radiused vertex.
The “pencil-tip” bit is ideal for careful detail work and carving smaller, hard-to-reach areas. Also, make small holes, work with contours, and more.
You’ll find a wide array of diameters and variations in the set.
|
|
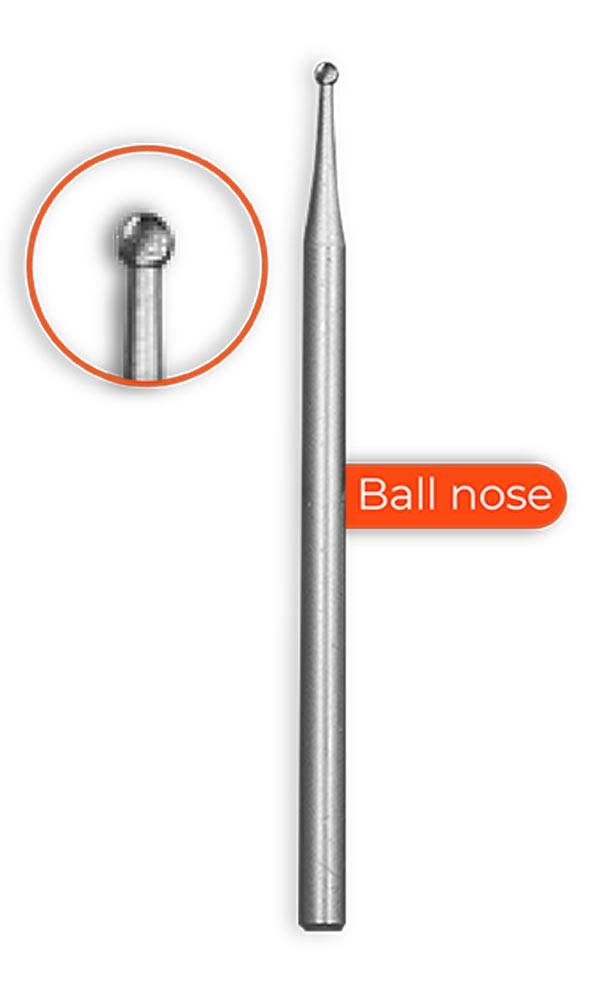 |
Ball nose:With bits like the cylinder with ball nose, spherical, and others
You can use the flat sides to quickly round over an edge, the rounded nose to produce a fillet in a corner, hollow out a concave area, or make radius-bottom grooves.
Ball nose bits come pretty handily for drawing.
|
Those are the basic bits groups. Now, let’s check the most specific ones.
Carbide Bits:
Used in many different industries, they are more durable than hardened steel bits but not as as a diamond.
These bits are used for soft materials like wood, plastics, etc. For a better result, use middle-speed or maximum, depending on the surface.
There are 3 kinds of bits.
Ball Nose:
From Shape and cutting to concave perforations, these bits are a must in our toolbox when working on wooden surfaces. (Or similar materials)
Flat:
Useful to take out imperfections or get flat results.
Cone and Flame:
Perfect for producing angled, concave cuts and notching v’s with a softly radiused vertex.
The “pencil-tip” shape is ideal for careful detail work and carving smaller, hard-to-reach areas. You can make small holes, work with contours, and more.
Cross-Cut bur:
This has more cuts in the blade to create a more efficient cutting process, cutting much quicker due to less debris build-up.
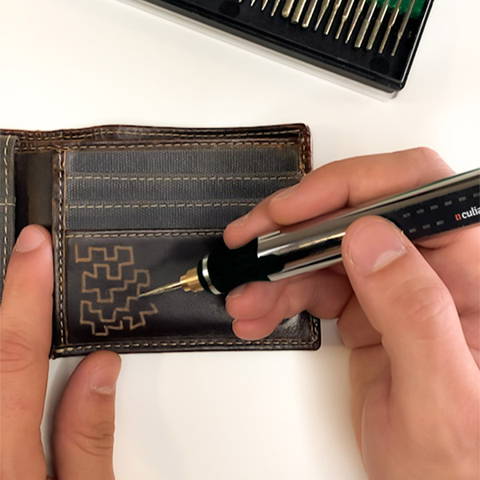
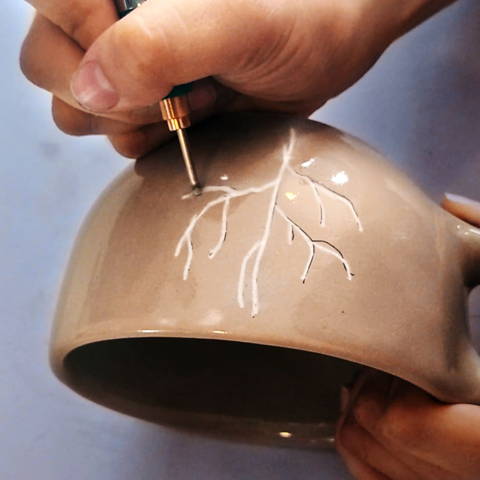
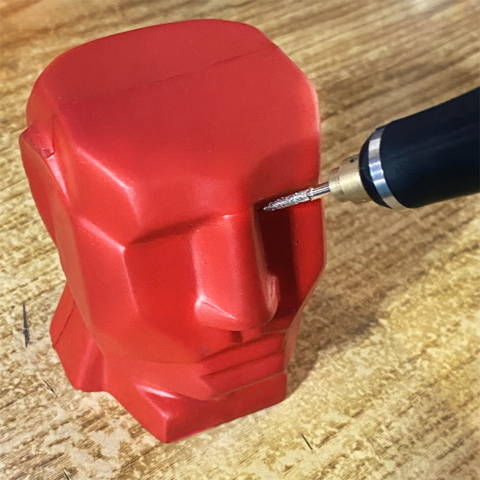
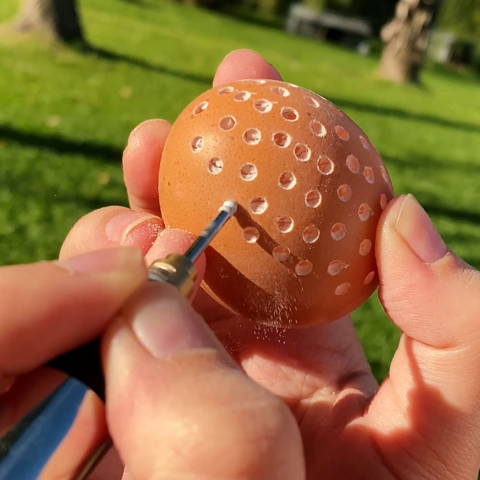
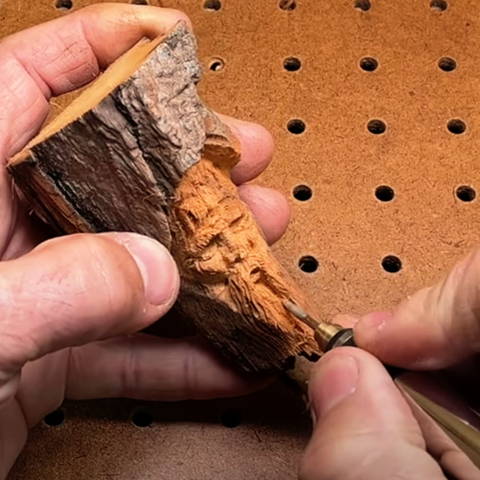
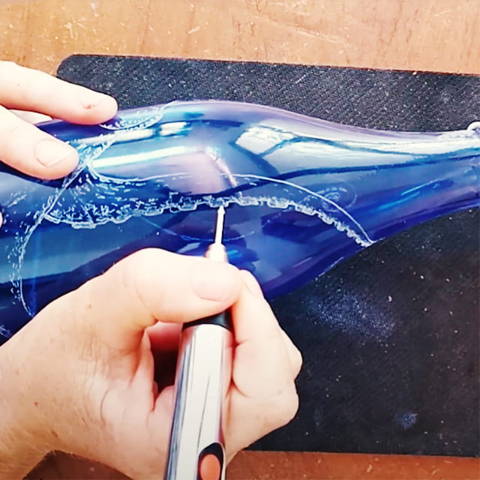
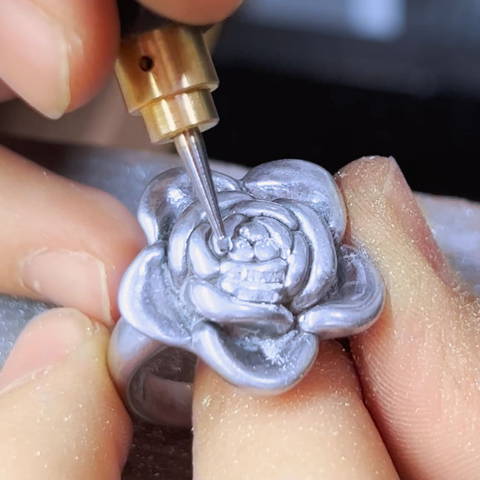
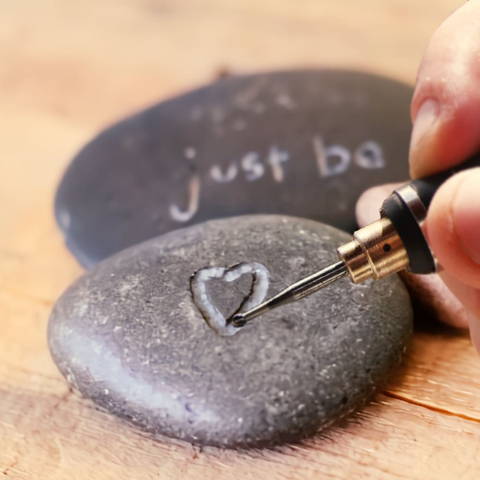
Now let’s choose a material.
There’s a wide variety of materials you can use:
There’s a wide variety of materials you can use:
 |
 |
 |
 |
 |
 |
 |
 |
 |
You have already chosen the material and know what bit you should use.
Now it’s time for protection. You’ll need:
- Safety glasses
- Wide space for engraving (a large table, a big to medium workshop)
- Face Mask (especially if you’re working in glass)
- A steady surface to hold your materials (make sure nothing slips from your hands)
ProTip: Have your design printed or drawn beforehand, so you don’t miss anything.
Now that you know the basics. It’s Engraving Time!
All you need to do from now on it’s to create and enjoy(and charge your customizer from time to time)
If you want to learn the How to's specific material, see our other Blog posts!

Also, to help you get inspired on this engraving journey, you can check our Social Media.


9 comments
Learned SO much from this information!!! I can’t wait to try it out!!!
Thanks. Can’t wait to get started!
My sons and I each own several of the same brand and model of tools. I want to at least engrave my initials on my tools so I can identify them.
I’ve had this engraver for a while now. My wife wanted the 5 symbols earth, wind, fire, water. Well I carved them in to wood disk, on a wooden box, so with out saying any thing I went out and found 5 round flat rocks. They came out amazing and was supper easy to crave them I only wish I had taken a picture of them. She sold them right after she put them out.
I’ve had this engraver for a while now. My wife wanted the 5 symbols earth, wind, fire, water. Well I carved them in to wood disk, on a wooden box, so with out saying any thing I went out and found 5 round flat rocks. They came out amazing and was supper easy to crave them I only wish I had taken a picture of them. She sold them right after she put them out.