How to Engrave Leather
Hi there, hope you are doing well. Recently we launched our new engraving pen tool and even our customers were doing it right and sent us pictures of their great jobs, we have some tips to improve them. Today we are going to talk about leather engraving and how to do it properly so we can improve our work.
These days of October 2021 we are going to be uploading guides for all the materials you can work with our tools like glass, metal, stone, acrylic, plastic, wood, aluminum, etc. So be aware.
Steps To Engrave Leather With A Rotary Tool
Leather is a material we use on our day by day. Usually, it has a very simple design but today we have the chance to personalize it with custom lettering, lines, borders, and other types of designs for your belts, wallets, boots, jackets, etc.
So let’s start!
Engrave leather with an engraving pen
2. The next step is to transcribe what we draw to the leather with some acetone and cotton. (For this step make sure your paint is looking down so you pass the cotton through the wite part.)
3. Once the painting is on our workpiece we will want to engrave it. So we go for the leather engraver and pick a proper bit for this material (the one with a ballpoint is good for beginners). Now I’m going to teach you how to change the bits of the Customizer Engraving pen, but if you already know how you can continue with the next step.
4. First take the hex key included in the box and loosen the Allen grub screw on the chuck.
5. Select a bit and place it into the chuck.
6. Tighten the Allen grub screw with the hex key. Before start using it make sure the bit is the correct one in a piece of leftover leather and that the bit is well tightened.
7. The final step, clean the surface with a damp cloth and go over the places where the pen didn't reach to engrave. After doing this your workpiece should be ready to go.
Buy Now Leather Engraving Tool
Customizer™ Professional Engraving Pen + 30 bits for FREE today
Techniques to personalize leather
Embossing Leather
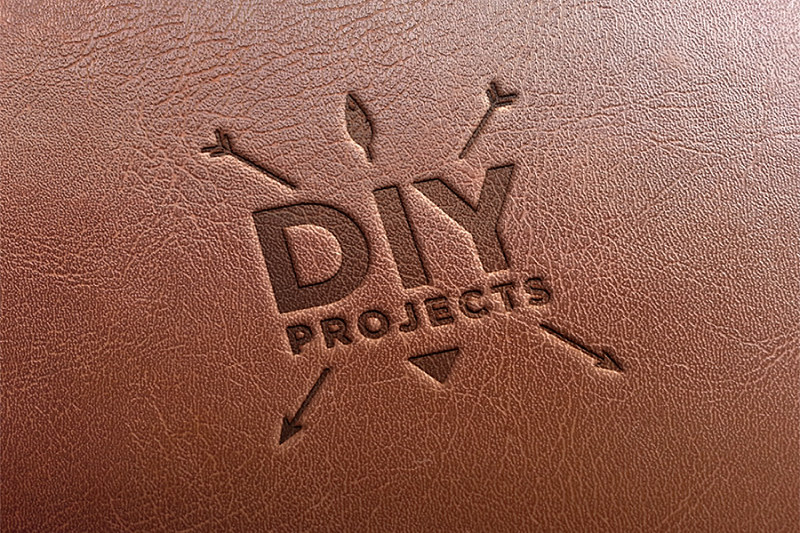
Embossing means stamping a pattern on leather using a heavy steel plate or a rolling wheel. It can be done in color and does not require burning the material.
1. It is so simple to do. Use a sponge to moisten the leather, which will soften it and facilitate its handling. Be careful not to get it too wet as the more water the leather absorbs, the longer it takes to dry and our design may be distorted.
2. Fix the leather to a sturdy surface, you can use clamps to fasten it.
3. Place your first stamp on the cylinder tool and place the stamp side down on the leather surface. With a firm grip, use the mallet to strike the other end of the cylinder, pressing the seal into the leather. The more you hit, the greater the depth of the stamping.

Carving
For this leather carving technique, first the material will need to be rubbed down with water and allowed to saturate for several minutes.
After that, we will start to transfer the image to carve into the material with a stylus, a ceramic swivel knife to cut the lines into the material. Then chisels, scrapers, stamps, etc to get the design fully formed into the leather.
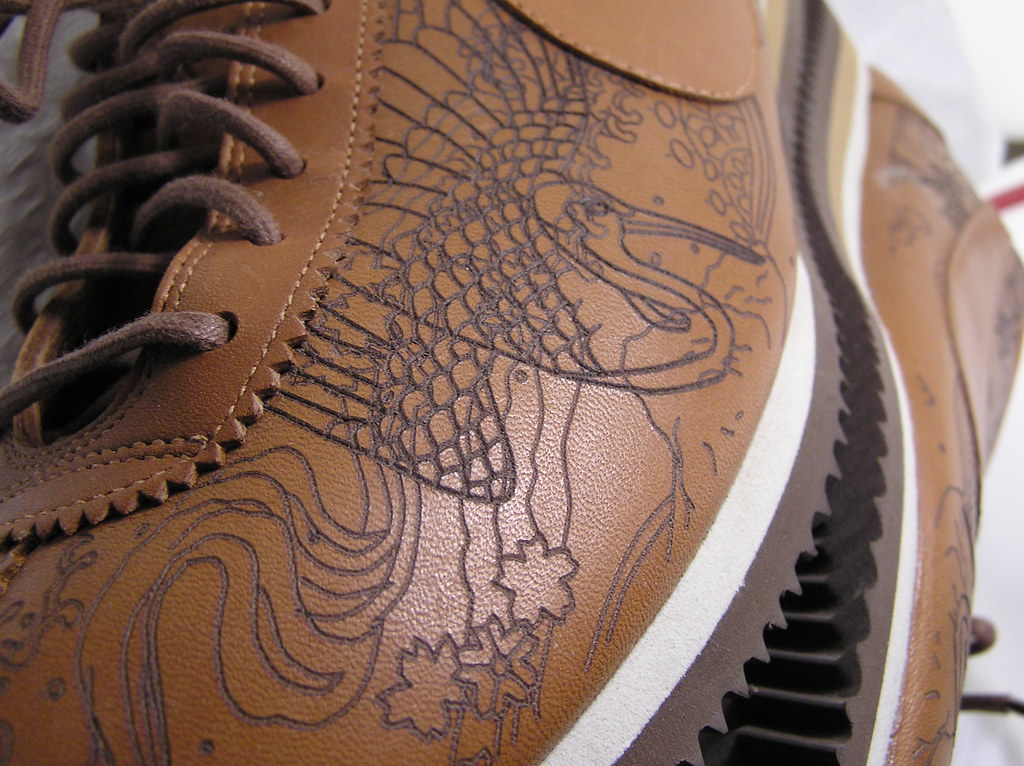
Also, you can use our electric engraving pen that will be very helpful than the ordinary tools used for carving, since it can engrave on any type of leather making a long-lasting design, and because of its easy-to-use shape and power. You will feel like drawing on paper but personalizing your material.
Just like with wood, leather can be carved with many different patterns, but only a specific kind of leather will be viable for carving because not every leather holds the carved shapes clearly after drying. That will be the full-grain vegetable-tanned leather.
Branding
This one is probably is one of the easiest leather engraving techniques.
Branding leather involves pressing a piece of hot metal against the surface of the hide to etch a pattern into it as a farmer would do with his cattle.
It will take a big amount of force to leave the mark on the leather. The result will be a burned area of the leather with a dark color and with a slightly sunken surface that is going to make the worked design stand out.
If you want to mark leather, it is essential to have the necessary tools before starting, the most important being the marking iron, gloves, and the way we will use to heat our iron stencil.

Pyrography
Electric heating is the most used form for those starting out in leather engraving. It requires an específic burning tool and stencils.
With methods such as pyrography and branding, caution must be taken as we run the risk of fire, although the risk is much lower given the much smaller size of the instruments used.
Laser Engraving
This method is exactly what it sounds like. The high-powered carbon dioxide laser is directed on a piece of leather, carefully burning a design into the material.
Similar to branding, laser engraving scorches the surface of the leather to make a pattern. There are many laser engraving tools that do this kind of job but they are too expensive, unless you want to start a business.

Perforation
While it is most often used for its functional purposes rather than design, leather piercing can create some fantastic designs. Usually, this is a technique that consists of drilling small holes in a piece of leather to improve its breathability.

Embroidery
This technique can be done either by hand with a strong needle or treated with a sewing machine. Soft leather is the best type for this technique. This method is also the most common one used in clothing manufacturing so you can quickly stitch a pattern into your jacket .
How to engrave a leather wallet
Everyone has a wallet which is normally made of leather. If we want to give it a nice touch-up or engrave something on it so that we can gift it to that person we appreciate very much, we could use an engraving pen to personalize or the other techniques we saw before to engrave a leather wallet.
You could engrave a message, a phrase, or a drawing on your wallet, it'll depend on your imagination, because the options are many.
Steps to engrave your leather wallet
Now I am going to give you the steps you have to follow in order to achieve the best result in the engraving of your wallet, so let's start. Also if you don’t like this method, you can use any of the list.
To engrave the leather wallet we will need an electric leather engraver and the bit (tips) for engraving, sanding, and polishing, the wallet. Also your design template which we are going to print on the leather with carbon paper and a pen. For your protection, we will be using gloves, safety goggles, a dust mask, an anti-slip mat, and a soft cloth and dubbin
1. The first step is to transfer the design onto the bag. For this, draw your design or print it, and get a carbon paper of the same size. Place the darker side of the carbon paper on the wallet and over it, the design.
Leather is a material we use on our day by day. Usually, it has a very simple design but today we have the chance to personalize it with custom lettering, lines, borders, and other types of designs for your belts, wallets, boots, jackets, etc.
So let’s start!
Engrave leather with an engraving pen
2. The next step is to transcribe what we draw to the leather with some acetone and cotton. (For this step make sure your paint is looking down so you pass the cotton through the wite part.)
3. Once the painting is on our workpiece we will want to engrave it. So we go for the leather engraver and pick a proper bit for this material (the one with a ballpoint is good for beginners). Now I’m going to teach you how to change the bits of the Customizer Engraving pen, but if you already know how you can continue with the next step.
4. First take the hex key included in the box and loosen the Allen grub screw on the chuck.
5. Select a bit and place it into the chuck.
6. Tighten the Allen grub screw with the hex key. Before start using it make sure the bit is the correct one in a piece of leftover leather and that the bit is well tightened.
7. The final step, clean the surface with a damp cloth and go over the places where the pen didn't reach to engrave. After doing this your workpiece should be ready to go.


3 comments
Thank you.
It seems very complicated describing so many methods but I’ll try to do one at a time or ones I think will be easier for me. Thanks for your hard work.
I’m liking what variety of materials can be used. I’m still learning with bright future as I’m giving access to a young artist I met in Addis. I’ll show him this post. Thank you Culiau.